How to Add 'Local Business' Schema Markup To a Webflow Website
January 29, 2020

by Karr Fager

I'm going to show you how to add "Local Business" Schema markup to your Webflow website.
Local Schema markup can help with your search visibility in Google search results.
The principle is the same for some other types of Schema markup, such as "Organization" Schema.
There are two ways we can go about doing this.
We can either:
OR
Google has come out and said not to put "Organization" Schema markup on every page of your website.
The reason is because Google is smart enough to understand the information even if it is only on one page of your website.
It's safe to assume that the same rule applies for "Local Business" Schema since they are used in similar manners.
I will note, however, that most WordPress plugins inject the "Local Business" Schema throughout the entire website, and it doesn't seem to leave a negative impact on search results.
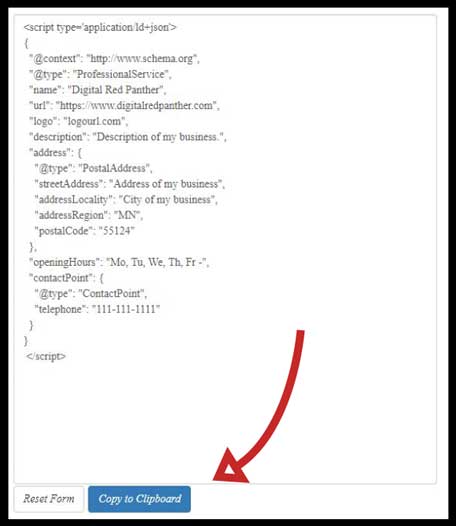
So whether you decide to put it on one page or all pages isn't going to make a huge difference. Whatever you decide to do, just make sure that any information placed inside your Schema markup is also listed on the page.
For example, don't add a zip code in your Schema markup if there is no zip code listed on the viewable page.
Again, make sure that the information you are entering can be seen by a user on the webpage once published.
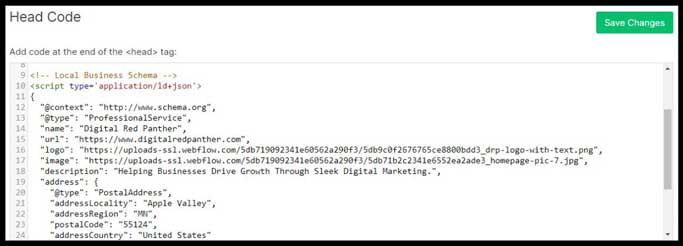
Or, if you want to add the code to the entire website:
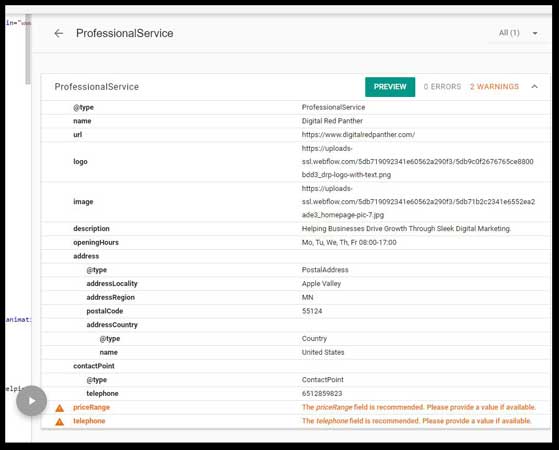
Google has given us an easy to use tool that will help us debug any issues with our code.
The test will tell you if your code has any errors.
One thing to note is that you may see warnings even if your code doesn't have any actual errors.
For example, my website has warnings for missing "telephone" and "priceRange" fields. That is okay because my telephone number is listed elsewhere in the Schema code, and I've left the priceRange value blank on purpose.